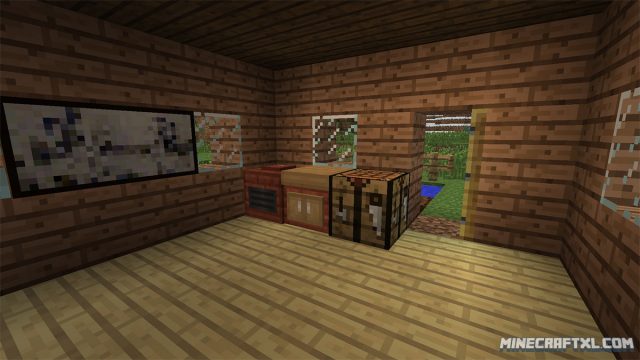
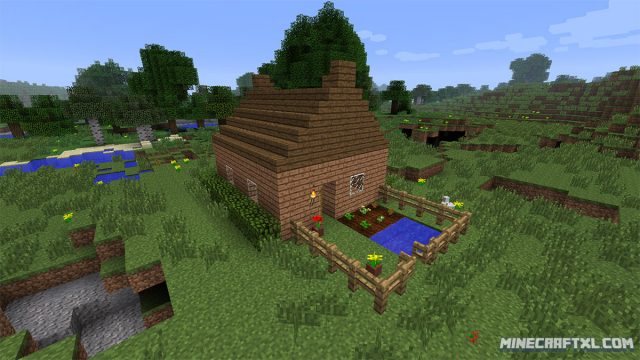
The Agriculture Mod is a mod that seeks to expand the farming, hunger, and cooking systems found in the vanilla game. It enhances these aspects by adding over 6 new machines, over 120 new recipes, as well as a new hunger system called revolving around being “Well Fed”.
Well Fed are a new type of points you will gain anytime you eat a piece of food cooked and processed through one of the new machines. The Well Fed points will appear on your fatigue bar as a golden highlight on the outside of the meter, that will slowly degrade. You can reach up to 20 levels of Well Fed, and for each level you gain, your swing and movement speed will increase by 1%, for a total of 20%
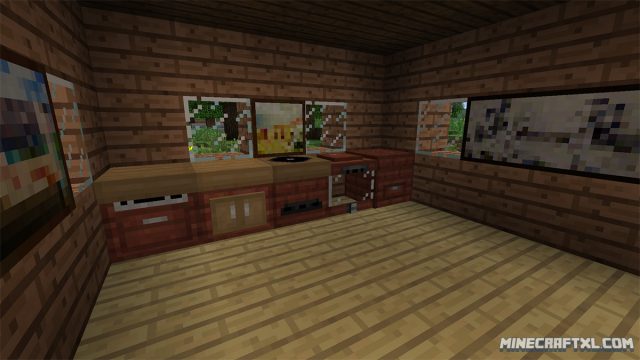
The various new machines are many, and serve a multitude of new purposes, the most basic being the counter.
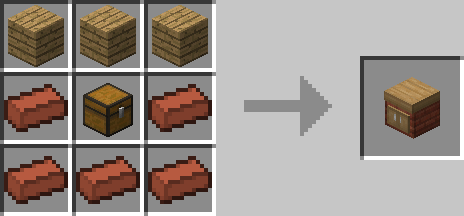
The Counter serves as the “crafting table of the mod, and if you access it from the top, you will view the crafting grid. From here, you can start by placing core ingredients in a plate, bowl, or cup on the far lest, and then add the ingredients on the right. The counter will then combine the ingredients to the appropriate item automatically. If you access it from the front, it serves as a storage area similar to a chest.
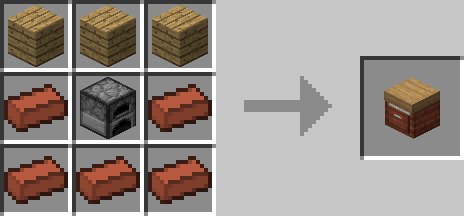
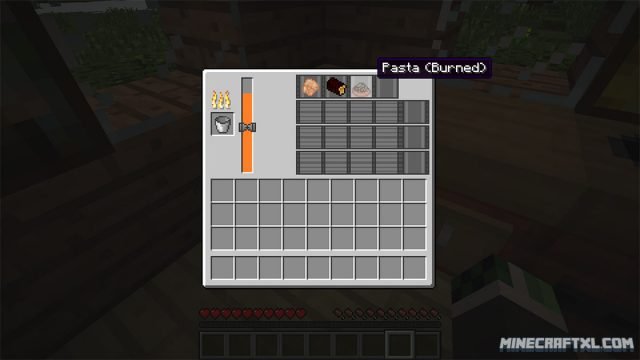
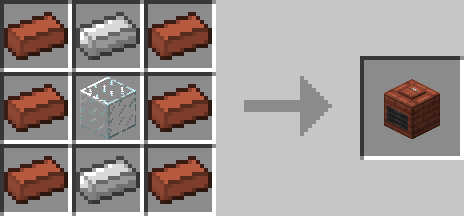
The Oven can also be accessed in various way. If you access it from the top, it features a crafting setup similar to what you’ve seen on the counter. If you open it from the front though, it will be a special furnace for cooking. You can fuel it like you would a normal oven, by using coal or other fuels to heat it up. You got to keep and eye on whatever you are trying to cook though! Set the heat too high, or leave food in the oven too long, and they will eventually get burnt! Using the slider adjusts heat, which will increase or decrease the heat, which will determine how fast it gets cooked (or burnt). You can add more oven racks to cook several items at once.
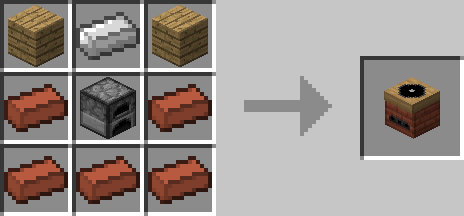
The Processor requires fuel fed to it from the front, and then you can place items on its top. Its use is to grind multiple items together, in order to create entirely new ingredients for more advanced foodstuff.
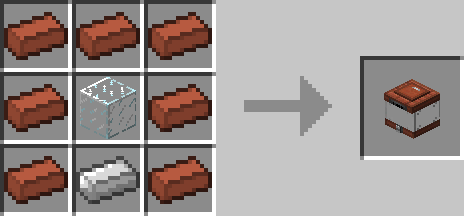
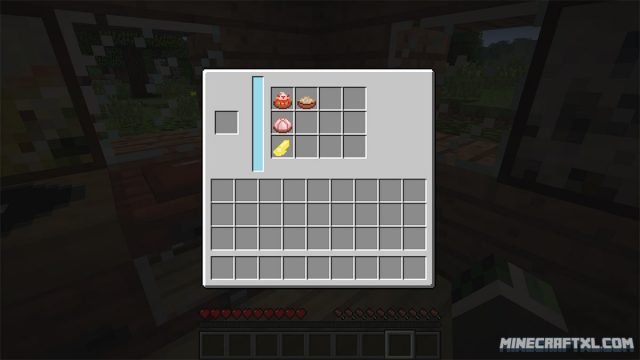
The Brewer is a machine that mixes ingredients and heats up liquids in order to generate new liquids. To get started, open it up, then place a bucket of water or milk in the middle grid, then when liquid is loaded, add an ingredient to the middle, and put some fuel in the bottom. Place an empty bucket or cup in the center to take liquid from the right meter.
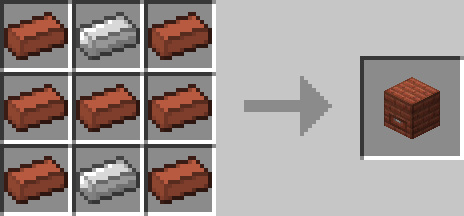
The Icebox is used to keep ingredients cold and freeze them. It is “powered” by snowballs and blocks of ice.
The Frier (fryer) is a container filled with cooking oil. It will fry food after you heat it up.
A bunch of new crops are also added by the Agriculture Mod, along with spices and salt. Salt will spawn randomly underwater, similar to how clay spawns. Spices are rare plants scattered throughout the world, they will drop bits of their type when you hit them, but each hit will lower their growth stage. When at stage 1, you can break them and replant them on tilled ground. They have no seeds, the limit is on how many you find in the world, so be slightly careful with them! Currently, cinnamon is the main spice, but more are planned. Strawberries and peanuts are added to Dungeon Chests as well, these are crops that you can plant!
The mod features too many recipes to list here, so check them out on this spreadsheet if you want an overview of them all!
The Agriculture Mod is a neat addition to Minecraft, especially if you are fond of cooking and managing crops. It gives you more uses, more to do, but it doesn’t make things harder or annoying. You don’t get punished for not eating, other than what you will experience in vanilla Minecraft, but are rather rewarded for eating good and properly prepared food! The new machines also look great and they are very useful!
How to install the Agriculture Mod for Minecraft:
Important: the Agriculture Mod requires Minecraft Forge in order to function.
- Download the mod.
- Make sure Forge API is installed.
- Open your Minecraft folder (in Windows: Start -> Run -> “%appdata%\.minecraft”).
- Copy the mod .jar file(s) you downloaded to the “mods” folder, found inside the .minecraft folder.
- All set, Atum: Journey into the Sands should now be installed and ready to be played, so enjoy and have fun!

