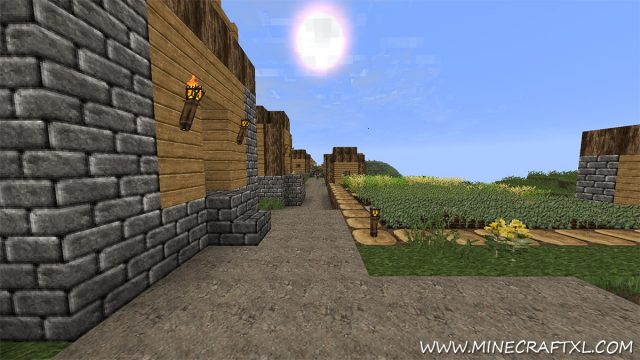
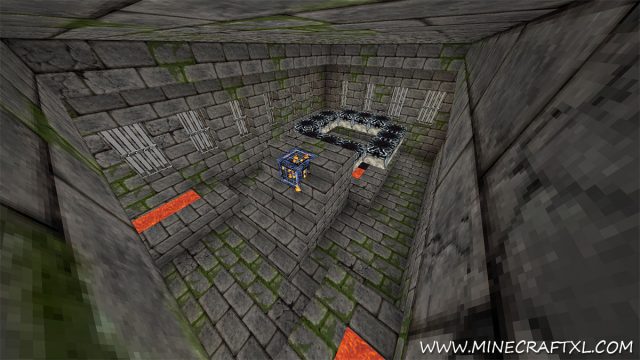
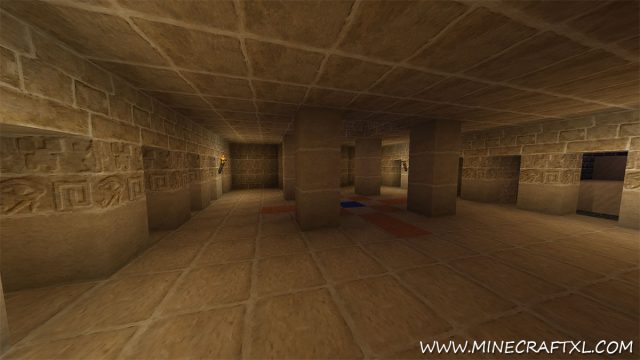
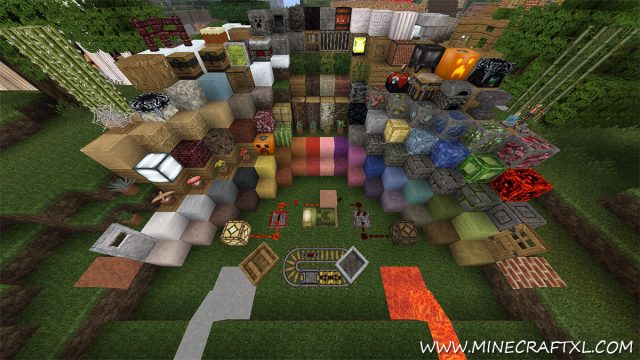
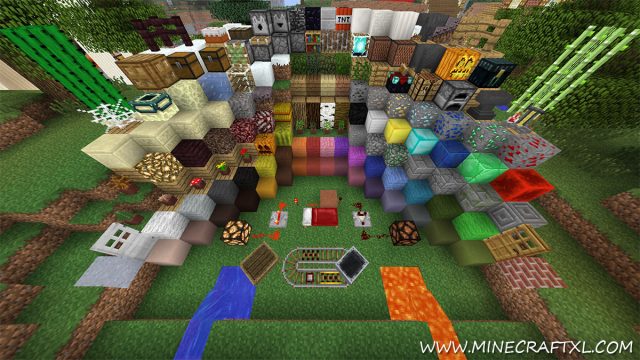
Misa’s Realistic Resource and Texture pack is, like LB Photo Realism, a resource pack focused on making Minecraft look more realistic and higher res.
This pack does a lot of the same things LB does, although differently. It changes the look and feel of the different biomes to feel more lifelike, and much less “cartoony”.
The pack gives the game a overall more crisp, realistic and sharper look, and makes it much less blocky and pixelated. The game also gets a darker tone, and it is much less goofy to look at. It makes it more real, more dangerous and more bleak
This pack is perfect for you if you are looking to spice up the game with some sharper and more lifelike textures, maybe you’ve already tried LB Photo Realism and want a change of pace, or maybe you just want something that is easier to get sucked into.
This pack is currently only available in the 64×64 resolution, so if you really want the more demanding and highest quality textures, I suggest LB Photo Realism instead as that comes in resolutions up to 256×256. However, this pack is still different than LB, so give both a shot and see which one you like better.
Important! You need McPatcher for Misa’s Realistic Resource and Texture Pack to work properly. Optifine may work as well, however the creator warns that not all features may be supported using that.
Here are some screenshots Misa’s Realistic Resource and Texture Pack:
It is the resource pack used in the very impressive Voyager map, where it is used to try and get as close to the look of the USS Voyager from the Star Trek TV and movie series. So if your intention is to create something sci-fi, Misa’s resource pack is a good contender to be used.
Here is a comparison to the default Minecraft look, so you can better see the difference between the two:
As you can see, Misa makes the whole thing more bleak and moody, like the water no longer being colorful and vibrant, but bland and uninviting.
How to install Misa’s Realistic Resource and Texture Pack:
- Download the Resource Pack.
- Download and Install MCPatcher (or OptiFine, although MCPatcher is recommended).
- Start Minecraft.
- Press Esc and go to options.
- Click on “Resource Packs”.
- Click on “Open resource pack folder”.
- Put the .zip file that you downloaded into the resource pack folder.
- The resource pack should now appear in Minecraft, now choose the resource pack and click “Done”.
- Enjoy your new Minecraft look!

